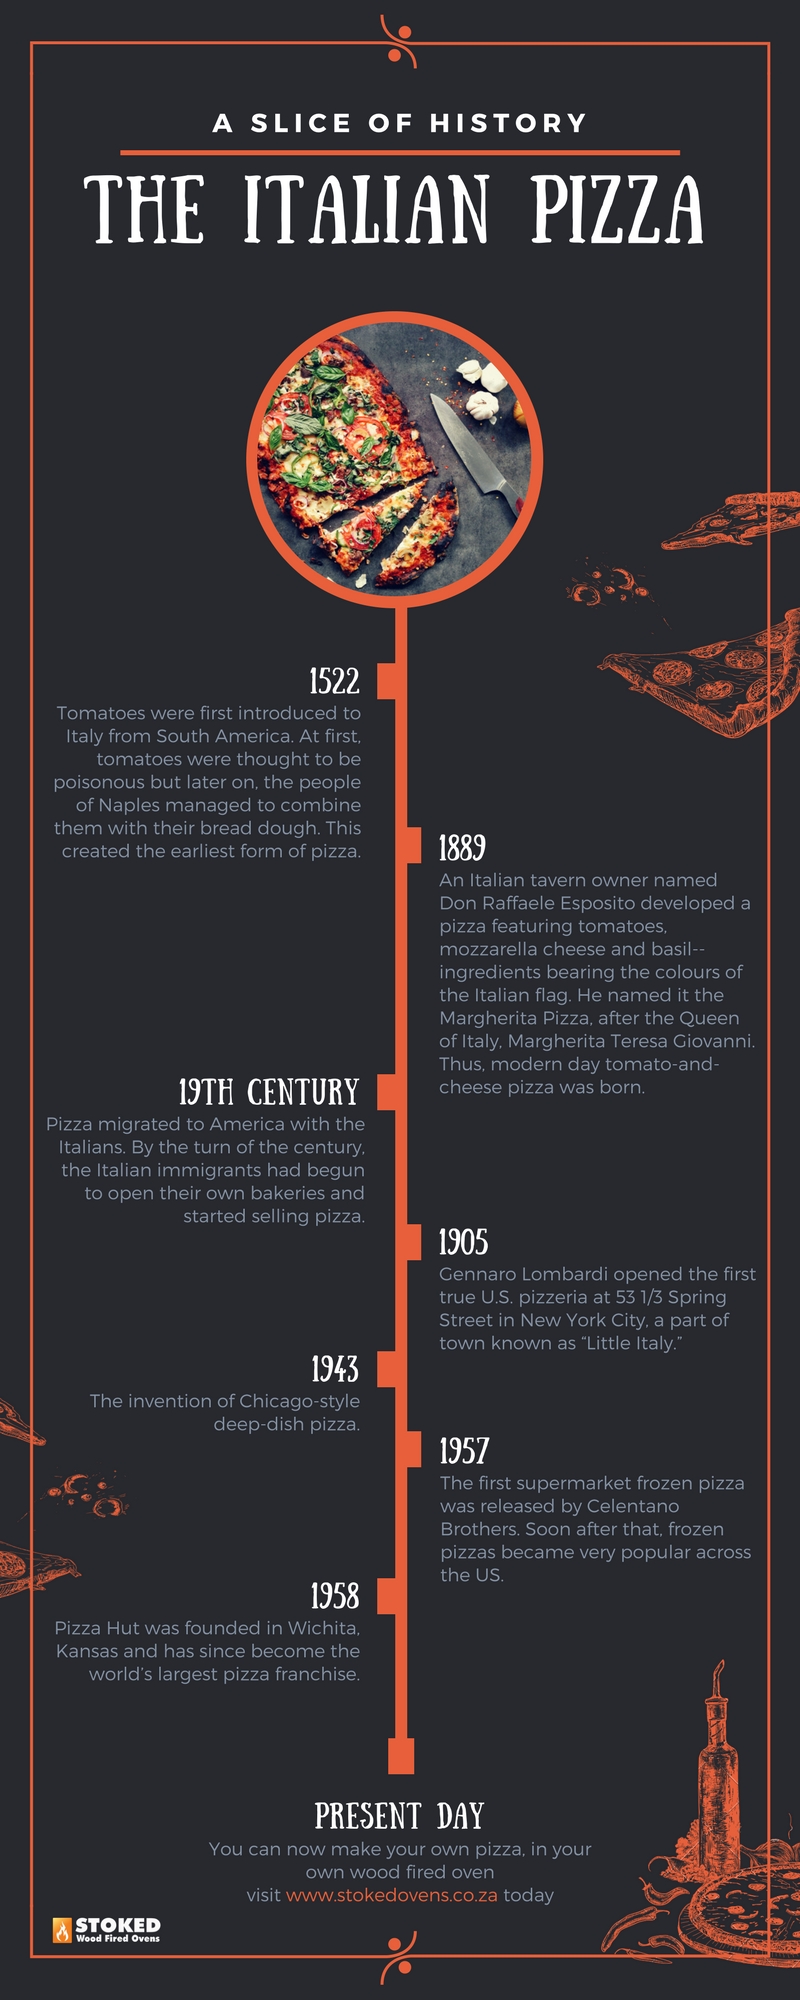
Neapolitan Pizza

By | Uncategorized | No Comments


Neapolitan Pizza

Neapolitan pizza, or pizza Napoletana, is a type of pizza that originated in Naples, Italy. Neapolitan pizza is prepared with simple and fresh ingredients: a basic dough, raw tomatoes, fresh mozzarella cheese, fresh basil, and olive oil — no fancy toppings.

Neapolitan pizzas are generally pretty small (about 25cm – 30cm) and cooked at very high temperatures (up to 450 – 500 Celsius) for no more than 90 seconds.

History of Neapolitan Pizza

Pizza as we know it today (dough topped with tomatoes and cheese) was invented in Naples, Italy.

Marinara pizza, which does not have cheese, is so named because it was traditionally prepared by “la marinara,” the seaman’s wife for her husband when he returned from fishing trips in the Bay of Naples.

Baker Raffaele Esposito, who worked at a Naples pizzeria is generally credited with creating Margherita pizza, now known as the classic Neapolitan-style pizza. In 1889, King Umberto I and Queen Margherita of Savoy visited Naples and Esposito baked them a pizza named in honour of the queen whose colours mirrored those of the Italian flag: red (tomatoes), white (mozzarella), and green (basil leaves).

Authentic Neapolitan Pizza Requirements

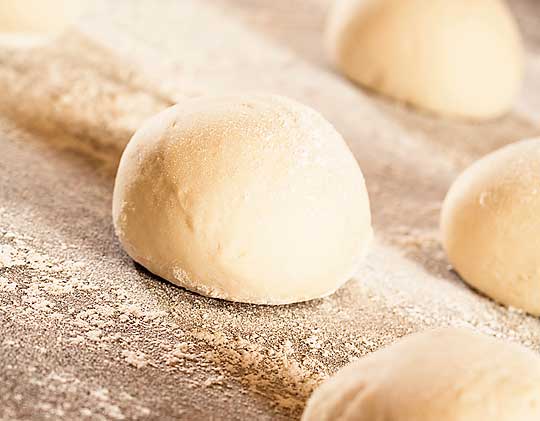
An authentic Neapolitan pizza has a crust made from a dough that is made with highly refined Italian type 0 or 00 wheat flour, Neapolitan or fresh brewer’s yeast, water and salt. The dough must be kneaded by hand or with a low-speed mixer and formed by hand, without the help of a rolling pin. The dough is topped with raw, pureed San Marzano tomatoes from Italy, fior di latte, which is mozzarella cheese made from cow’s milk, or mozzarella di Bufala, which is mozzarella cheese made from the milk of water buffalos. It’s topped off with fresh basil and extra-virgin olive oil. The ingredients must be all-natural and fresh.

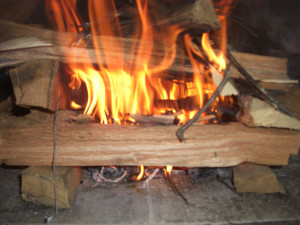
The pizza is baked for 60-90 seconds (baking time cannot exceed 90 seconds) in a 425-degrees Celsius (minimum temperature) wood fired oven.

Neapolitan Pizza Variations

There are three official variants:

Pizza Marinara, which is topped with tomato, garlic, oregano and extra-virgin olive oil.

Pizza Margherita, which is topped with tomato, sliced fresh mozzarella, fresh basil, and extra-virgin olive oil.

Pizza Margherita Extra, which is topped with tomato, sliced mozzarella di Bufala, fresh basil, and extra-virgin olive oil.

Curing your pizza oven

By | Uncategorized | No Comments

PIZZA OVEN CURING


Curing your pizza oven

After installation there is still a great deal of moisture in the mortars, hearth concrete, vermiculite, and the oven chamber and vent. Each of these oven components was recently produced using an air-drying, water-based process. Simply letting the oven stand for a week does not “cure” the moisture out of the oven.

When curing your pizza oven, t is important at this point that you cure your oven slowly, by building a series of increasingly larger fires, starting with a low temperature. If you begin building large fires in your oven right way, you will compromise your safety, your oven’s longevity and ability to cook well, and cause damage, including cracking.

There further needs to be a period of time between completing the masonry work and beginning the actual firing cure. Longer is better than shorter, particularly for the actual finishing masonry and plaster. The cement and mortar must cure first and this process is actually improved by keeping the cement moist and not letting it dry out.  Before you start the curing process, let the complete oven sit for at least one week, this will allow time for the outer layer to air dry before commencing the firing of the oven.

Then, start a series of low and growing fires, using a temperature gauge to measure the temperature.

Day 1 – Maintain a fire temperature of 125 – 150 degrees Celsius.

Day 2 – Start with small fire, increase temperature gradually to 200 degrees Celsius.

Day 3 – Start with small fire, increase temperature gradually to 250 degrees Celsius and maintain temperature for 4 – 6 hours before increasing final temperature to 300 degrees Celsius.

At this point the inner dome should turn from black to grey, when this happens the oven is ready and you can start to load the pizzas

If not, continue firing as that will indicate that oven is not yet fully cured.

Important Notes:

While it is difficult to maintain consistent, low temperature fires, it is critical for proper curing that you do not go above these temperatures during the first 3 days.

Use solid wood fuels only. DO NOT use charcoal, pressure treated lumber, chipped wood products, sappy wood such as pine, laminated wood or any material other than DRY medium or hard “food safe” firewood.

Avoid using thick bulky logs for firing, this will cause excessive smoke build-up; make sure you are using dry wood.

Do not use products not specified for use with this oven.

DO NOT USE liquid fuel (firelighter fluid, petrol or similar liquids) to start or maintain a fire.

Never use water to lower temperature inside the oven, or to extinguish the fire.

Due to thermal expansion small hairline cracks of the dome or outer layer may occur with normal heating and cooling. They will not affect the performance or longevity of the oven.

Pizza dough recipe

By | Uncategorized | No Comments

Pizza Dough

Pizza dough recipe

With the oven cured and your tools in place, let’s look at the next step………….dough.

There are many different styles of pizza dough, thin base, thick base, New York, Chicago, Sicilian, and Neapolitan to name a few with various options between flour types, fermentation, hydration and additional optional ingredients such as oils, sugars, malt, herbs etc.

For this first dough blog we’ll use a very basic “forgiving” pizza dough recipe, using only four basic ingredients, here we go….

Pizza dough recipe

Number of Pizzas: 6

Dough ball weight: 175 grams

Ingredients (By Weight)

Flour: 634gr (We recommend Eureka Mills, Stone Ground, White Bread Flour / Alternatively try an Italian “00” flour)

Tap Water: 397gr (62.5% Hydration)

Salt: 13gr

Instant Yeast: 6gr

Dissolve yeast in water, combine water and yeast mixture with flour and salt.  Work the dough until well combined, place in lightly oiled airtight container allowing enough space for dough to double in size.  Place in refrigerator for 24 hours.  After 24 hours, remove from refrigerator and divide into 6 x 175gr dough balls. Cover balls with wrap or cloth to prevent drying and store for 2-3 hours at room temperature, alternatively place in airtight container and refrigerate for a further 24 hours before resting at room temperature.

After the 2 – 3 hour resting period, the dough should have increased at least 50% in volume, now you are ready to roll out the dough on a well-floured surface to prevent the dough from sticking onto the counter and rolling pin.

Next time we’ll discuss a basic tomato sauce…………..and remember the Theory of Pizza Relativity:

“The most important thing about any pizza recipe is that it is always relative.  The ingredients, their age, the water, the weather, the elevation, your equipment, your oven, how long your dough has proofed – all of these make a difference.  So there’s no single truth” – Tony Gemignani

Pizza making tools and accessories

By | Uncategorized | No Comments


Pizza peel

PIZZA MAKING TOOLS AND ACCESSORIES


Now that your oven is all fired up, let’s have a look at some basic kitchen tools required to make that perfect, home-made, wood fired pizza.

Scale – For weighing the heavy stuff like flour and water; preferably digital with a “zero” function for adding ingredients (yes, we are going to weigh the water).

Small scale – for measuring the lighter ingredients like yeast and salt (not crucial).

Stand Mixer – For mixing and kneading the dough, also not crucial, work the dough by hand and let “time” do the hard work (more on this topic when we discuss the basics on dough).

Prep bowls, measuring cups and spoons.

Dough cutter – To divide the dough …………or use a knife.

Container to “rest” the dough – or plastic wrap to cover dough in bowl (something that can fit into the fridge).

Rolling pin – to roll out the dough (or stretch the dough by hand – takes some practice!!).

Pizza peel – To load pizza in and out of the oven.

Pastry brush – Some pizzas require the crust to be coated with some olive- or infused olive oil.

Pizza wheel OR Rocking pizza cutter – To cut the pizza.

Wooden board – For cutting and serving.

Fire….. Sorted

Tools….. Sorted

Dough and Pizza Sauce NEXT…..


STOKING YOUR OVEN

By | Uncategorized | No Comments

STOKING THE FIRE

STOKING YOUR OVEN

After you have cured your oven you are ready to start cooking!!

(Although your oven may seem dry, there are still small amounts of moisture pockets in the refractory dome that need to work their way out.  Should you build a large fire in your oven before curing, you could compromise your safety, the oven’s longevity and cooking efficiency, and can ultimately cause permanent damage, please refer to curing instructions)

Stoking your oven is a simple process, but take care, you’ll be handling dangerous, sharp and extremely hot objects that could cause serious injury and like all disclaimers always say, even death …….and never leave the kids unattended!!

First step, start with a small fire in the centre of the oven, only use “FOOD SAFE” dry, medium or hard wood, you want a proper flame with some coals for increased heat retention.

NEVER use treated timber and any odor causing fire lighters or gels.  Avoid using wet or “green” wood as you will struggle to get the fire going and it will cause excessive smoke.

Once the draft gets going and the fire is well established, add another few pieces of wood but remember, slowly build it up.

Keep in mind that a vigorous fire with large flames will not equate to higher internal temperatures or a better cooking result.

Notice the black soot or carbon on the inner dome, when the inside of the dome of a pizza oven reaches about 350 degrees Celsius, the black soot, or carbon, begins to burn off, giving the impression that the oven dome is turning white or clear.  When you see this you’ll know that your oven is nearly ready for cooking pizza and that it has reached a stage where it will continue to hold heat for other types of retained heat cooking.

Spread the coals over the floor for a couple of minutes, using a fire poker or brush, before moving the wood and coals to the side of the oven, place the logs on top of each other.

Sweep the floor with a “long handled” fine, heat resistant metal brush.

WARNING – DON’T PLACE YOU HAND OR ARMS OR ANY BODYPART INSIDE THE OVEN AS YOU WILL RUN THE RISK OF SERIOUS INJURY.

The oven is now ready for pizza which should bake in roughly 2 minutes, for retained heat cooking and baking, rake out the coals and wait for the temperature to drop to the desired range.

For pizza, keep the fire going, place your logs near the mouth of the oven a few minutes before you need to use them. This will help them to ignite quickly when you place them on the fire.

Lastly, never use liquids, including water to kill the fire inside the oven, this will not only damage your new prized possession but could also; like we’ve said before, cause serious injury or even death ……..and never leave the kids unattended!! J